
The moment you realize your Quicken file is corrupted, accidentally deleted, or just behaving strangely is one of those stomach-dropping experiences nobody forgets. Years of transaction history, carefully categorized expenses, investment accounts, budgets — all of it suddenly at risk.
I’ve been there. And the first thing I learned is that restoring a Quicken backup is not nearly as complicated as it feels in that moment of panic. The second thing I learned is that doing it wrong — rushing the process, restoring to the wrong location, or skipping a few critical steps — can make things significantly worse.
This guide walks you through exactly how to restore a Quicken backup correctly, safely, and without losing any more data than necessary. Whether you’re restoring after a crash, a corrupted file, or just want to roll back to an earlier version of your data, this is the complete process from start to finish.
Read: QuickBooks Online Backup
Before You Restore: Understand What You’re Working With
Rushing into a restore without understanding what you have is the most common mistake people make. Take two minutes to understand your situation before touching anything.
What Kind of Backup Do You Have?
Quicken creates two types of backup files, and they’re not the same:
Automatic Backups (.QDF-backup) — Quicken automatically backs up your data file every time you close the program, or at intervals you set. These are stored locally on your computer, usually in a folder like C:\Users\[YourName]\Documents\Quicken\Backup\. They’re convenient but only as safe as your computer — if your hard drive fails, these go with it.
Manual Backups (.QDF) — These are backups you created deliberately using File > Backup. You may have saved these to an external drive, USB stick, or cloud storage. These are your most reliable recovery option.
Cloud Backups — If you have Quicken’s cloud sync enabled or used a service like Dropbox or OneDrive to back up your Quicken folder, your backup may be in the cloud.
Knowing which type you’re working with determines exactly how you restore.
What Date Is Your Backup From?
Before restoring, check the date on your backup file. Any transactions you entered after that backup date will not be in the restored file — you’ll need to re-enter them manually or download them again from your bank.
This is critical to understand upfront. Restoring a backup doesn’t magically recover everything up to today. It recovers everything up to the date the backup was made.
Don’t Delete Your Current File Yet
Before restoring anything, do not delete your current Quicken file — even if it’s corrupted. You may need it as a reference to manually re-enter recent transactions. Rename it instead (add “OLD” to the filename) and keep it somewhere safe until you’ve confirmed your restoration is complete and accurate.
Step 1: Locate Your Quicken Backup File
First things first — you need to find your backup. Here’s where to look depending on how your backups were set up.
For Automatic Backups on Windows:
- Open File Explorer
- Navigate to: C:\Users\[YourName]\Documents\Quicken\Backup\
- Look for files ending in .QDF-backup or .QDF
- Sort by Date Modified to find the most recent one
- Note: The file name usually includes the date — for example, MyFinances-2025-01-15.QDF-backup
For Automatic Backups on Mac:
- Open Finder
- Navigate to: ~/Library/Application Support/Quicken/Documents/
- Look for the Backup folder inside
- Sort by date to find your most recent backup
For Manual Backups:
Check wherever you saved them — external hard drive, USB drive, cloud folder, or a specific folder you chose during backup. If you used Quicken’s built-in backup to a specific location, check there first.
If You Can’t Find Your Backup:
Check these additional locations on Windows:
- C:\ProgramData\Quicken\
- Your Desktop (some users save backups here)
- Any external drives or USB sticks you’ve used recently
- Dropbox, OneDrive, or Google Drive if you sync those folders
If you genuinely have no backup file, skip to the section at the bottom of this guide on recovering without a backup — Quicken has a file repair tool that can sometimes salvage a corrupted file.
Step 2: Back Up Your Current (Damaged) File First
This step feels counterintuitive — you’re trying to restore a backup, so why are you backing up first?
Because your current file, even if corrupted or problematic, may contain recent transactions that aren’t in your backup. Once you overwrite it with a restore, those recent entries are gone unless you’ve saved them separately.
How to protect your current file:
- Open File Explorer (Windows) or Finder (Mac)
- Navigate to your Quicken data folder: C:\Users\[YourName]\Documents\Quicken\
- Find your current .QDF file (it will have your file name)
- Right-click and select Copy
- Paste it to your Desktop or a separate folder and rename it something like MyFinances-BEFORE-RESTORE.QDF
Now you have a safety copy. Whatever happens during the restore, you can always go back to this.
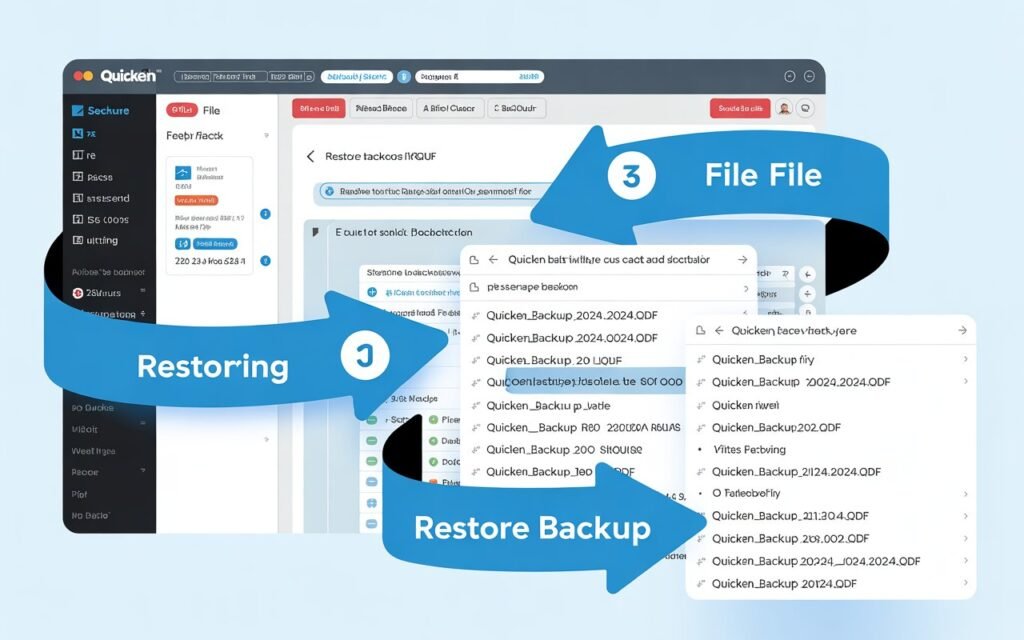
Step 3: Restore Your Quicken Backup — Step by Step
Now you’re ready to actually restore. The process differs slightly depending on whether you’re restoring from inside Quicken or directly from a file.
Method 1: Restore from Inside Quicken (Recommended)
This is the safest and most straightforward approach when Quicken can still open.
For Quicken on Windows:
- Open Quicken
- Go to File in the top menu bar
- Select File Operations
- Click Restore from Backup
- A window will open showing your recent automatic backups — these are listed with dates so you can see exactly when each one was made
- Select the backup you want to restore from the list
- Click Restore Backup
- Quicken will ask you to confirm — read the warning carefully, it will tell you that your current file will be replaced
- Click OK to confirm
- Quicken will restore the backup and reopen with the restored data
If your backup isn’t showing in the list:
- Click Browse or Find Backup File
- Navigate to wherever your backup file is stored
- Select the .QDF-backup or .QDF file
- Click Open and proceed with the restore
For Quicken on Mac:
- Open Quicken
- Go to File > Restore from Backup
- Navigate to your backup file location
- Select your backup file and click Open
- Confirm the restore when prompted
Method 2: Open the Backup File Directly
If Quicken is crashing on launch or you can’t access the File menu, you can restore by opening the backup file directly — essentially telling Quicken to use the backup as your main file.
- Open File Explorer and navigate to your backup file
- Right-click the .QDF-backup file
- Select Open With > Quicken
- Quicken will open with the backup as a temporary file
- Once open, go to File > Save a Copy and save it to your main Quicken folder with your normal file name
- From now on, open that saved copy as your primary Quicken file
Method 3: Restore from Quicken’s Automatic Backup (Windows)
If you haven’t manually backed up but Quicken’s automatic backup is enabled:
- In Quicken, go to File > File Operations > Restore from Backup
- Look for the Automatic Backups tab
- You’ll see a list of recent automatic saves with timestamps
- Select the most recent one before your problem started
- Click Restore and confirm
Step 4: Verify Your Restored Data Is Accurate
Restoring a file doesn’t mean the job is done. You need to verify the data is correct before moving forward.
Check these things immediately after restoring:
Account balances — Compare your restored Quicken balances against your actual bank statement. If they match as of the backup date, the restore worked correctly.
Recent transactions — Check whether any transactions you entered after the backup date are missing. Make a list of what needs to be re-entered.
Investment accounts — If you have investment accounts, verify that your holdings and share counts look correct. Investment data can sometimes behave unexpectedly after a restore.
Scheduled transactions and bills — Check that your upcoming scheduled payments are intact and showing the right amounts and dates.
Memorized payees — Verify that your common payees and categories are still showing up correctly.
If something looks wrong after verification — balances are off, large amounts of data seem missing — stop and contact Quicken support before doing anything else. You still have your original (pre-restore) file saved from Step 2 to fall back on.
Step 5: Re-Enter Any Missing Transactions
If your backup is a few days or weeks old, you’ll have a gap between the backup date and today. Here’s how to fill that gap efficiently.
Download transactions from your bank:
- In Quicken, go to Tools > One Step Update
- Quicken will connect to your linked financial accounts and download recent transactions
- This automatically fills in most of what you missed — especially for checking, savings, and credit card accounts
For transactions that can’t be downloaded:
Some transactions — cash payments, manual entries, split transactions — don’t come from bank downloads. You’ll need to re-enter these manually. This is where having kept your old corrupted file as reference (from Step 2) becomes valuable. Open it to check what transactions you manually entered.
For investment accounts:
Investment transactions often don’t download automatically for all brokerages. Log into your brokerage account, pull up your transaction history for the gap period, and manually enter any trades, dividends, or transfers that are missing.
How to Restore a Quicken Backup Without Losing Recent Data: The Smart Approach
If you’re trying to preserve as much recent data as possible, here’s the best strategy experienced Quicken users follow:
Step 1: Export your current transaction data before restoring, even if the file seems corrupted. Go to File > Export > Transactions to QIF and save the export. Even from a corrupted file, Quicken can sometimes export usable transaction data.
Step 2: Restore your most recent backup using the steps above.
Step 3: Try importing your exported QIF file into the restored version. Go to File > File Import > QIF File and select your export. This can bring recent transactions into the restored file without losing your backup’s clean data.
This approach doesn’t always work perfectly — duplicate transactions sometimes appear and need to be cleared — but it’s the best way to minimize data loss when your backup is older than you’d like.
Restoring a Quicken Backup on a New Computer
If you’re moving to a new computer and need to restore your Quicken data there, the process has a few extra steps.
- Install Quicken on the new computer first — you must have a valid subscription
- Transfer your backup file to the new computer — via external drive, USB, email, or cloud storage
- Place the backup file in the Quicken documents folder: C:\Users\[YourName]\Documents\Quicken\
- Open Quicken on the new computer
- Go to File > Open Quicken File and navigate to your backup
- Select the file and click Open
- Quicken will open the restored data on your new machine
One thing to watch for: If your Quicken file contains online banking connections, you’ll need to reconnect each account after moving to a new computer. Quicken will prompt you to do this. Have your bank login credentials ready.
What to Do If You Have No Backup at All
If you’ve checked every location and genuinely have no backup, don’t panic yet. You have options.
Try Quicken’s Built-In File Repair Tool
Quicken can sometimes repair a corrupted file without needing a backup:
- Open Quicken
- Go to File > File Operations > Validate and Repair
- Select Validate file and click OK
- Let the process run — it can take several minutes for large files
- If Quicken finds issues, it will attempt to repair them automatically
- Restart Quicken after validation and check if the file is stable
Check Windows File History or Mac Time Machine
If you have Windows File History or Mac Time Machine enabled (many people do without realizing it), your Quicken file may have been automatically backed up by the operating system.
On Windows:
- Right-click your Quicken data folder
- Select Restore previous versions
- If File History is enabled, you’ll see a list of previous versions to restore from
On Mac:
- Navigate to your Quicken data folder in Finder
- Open Time Machine
- Browse back to a date before your problem started
- Select the version you want and click Restore
Contact Quicken Support
If none of the above works, Quicken’s support team has specialized recovery tools that aren’t available to regular users. As a subscriber, you’re entitled to full technical support. Call 1-800-300-8073 or start a live chat at quicken.com/support. Have your account email and the error message (if any) ready before you call.
How to Set Up Better Backups Going Forward
Once you’re back up and running, take 10 minutes to set up a backup system that protects you from ever going through this again.
Enable Quicken’s automatic backup:
- Go to Edit > Preferences > Setup (Windows) or Quicken > Preferences (Mac)
- Find the Backup section
- Set it to back up automatically every time you close Quicken
- Set the number of backups to keep at 10 or more — more copies means more recovery options
Add a second backup location:
Automatic backups only help if your computer is healthy. Hard drives fail, computers get stolen, and accidents happen. Save a manual backup to at least one of these external locations every month:
- External hard drive or USB drive
- Cloud storage (Dropbox, Google Drive, OneDrive) — save the backup file here manually
- Email it to yourself as an attachment for very important milestones
Create a monthly backup habit:
At the end of each month after you’ve reconciled your accounts, do a manual backup: File > Copy or Backup File, save to an external location, and name it with the month and year (e.g., MyFinances-Jan-2025.QDF). This takes 60 seconds and can save you hours of work.
Common Quicken Backup Restore Errors (And How to Fix Them)
“File is already in use”
This happens when Quicken or another program has the file open. Close Quicken completely, check Task Manager for any Quicken processes still running and end them, then try the restore again.
“Cannot open file” or “File not found”
The backup file path has changed or the file has been moved. Use the Browse option to manually navigate to the backup’s current location rather than relying on Quicken’s saved path.
“This file was created by a newer version of Quicken”
You’re trying to open a backup made in a newer version of Quicken on an older version. Update Quicken first, then attempt the restore.
“File appears to be corrupted”
The backup itself may be corrupted. Try an older backup if available. If all your backups are corrupted, use Quicken’s Validate and Repair tool on the least-damaged file.
Restored file is missing recent transactions
This is expected — not an error. Your backup only contains data up to the date it was made. Use One Step Update to download recent bank transactions and manually re-enter anything that can’t be downloaded.
Conclusion
Restoring a Quicken backup feels intimidating in the moment, but the process itself is logical and manageable when you take it step by step. Locate your backup, protect your current file before touching anything, restore using Quicken’s built-in tools, verify the data, and fill in any gaps with downloaded transactions.
The most important lesson from this entire process isn’t about restoring — it’s about backing up. A good backup habit takes 60 seconds a month and eliminates the panic entirely. Set up automatic backups inside Quicken, add a monthly manual backup to an external location, and you’ll never need to spend a stressful afternoon recovering lost data again.
If you’ve followed this guide and your restoration is successful, take a moment to set up that backup system before you do anything else. Future you will be genuinely grateful.