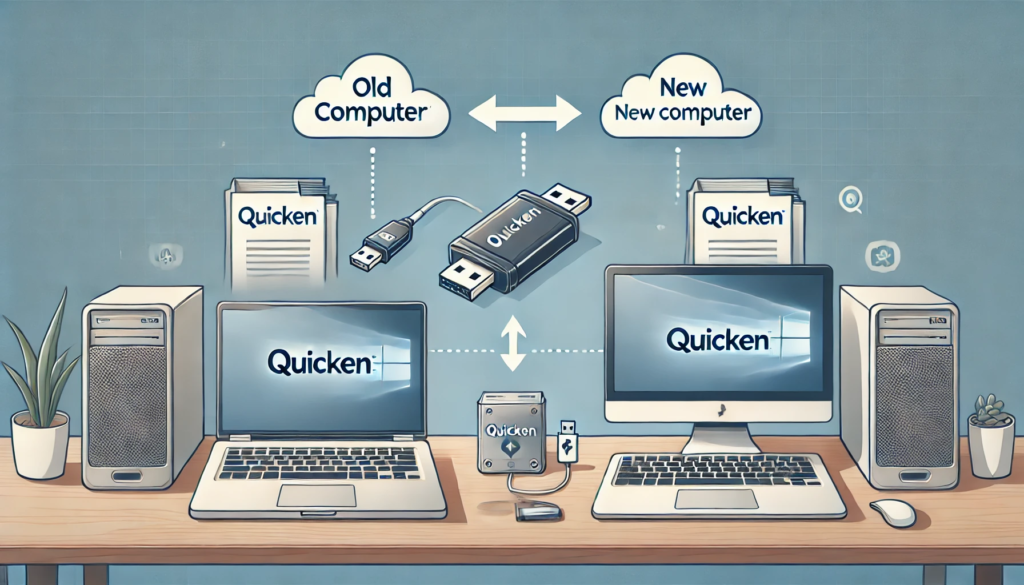
As one of the most comprehensive personal financial tools, Quicken’s data files migration to a new computer can be overwhelming. This thorough guide will help you move your Quicken data file from any computer, as both devices are in good use, or one is changing or upgrading the device or operating system.
Read: How to Stop Quicken from Saving Everything to OneDrive
Why Should You Move Your Quicken Data File?
It is fundamental to note that your Quicken data file has everything about your finances, which encompasses account balances, transactions, and even interest budgets. Data transfer during the transition phase is necessary to maintain readable tracking without recreating the entire financial history from the beginning.
Step-by-Step Guide to Transfer Quicken Data File
Step 1: Getting Organized for File Transfer of Quicken
- Start by opening Quicken on your current Computer.
- Start by opening Quicken. Always consider having the latest version updated to avoid future critical problems.
- Secure the Data File you have.
- Start by selecting File on the options, followed by Backup and Restore, then Backup to the Restoration Option Quicken File.
- Then select the backup option that states backup to the computer or disc.
- Pick a folder in which you want the backup file to be stored, then click on Backup Now.
- It generates a .QDF file which is the amount that Quicken uses to back up the financial files.
Step 2: Moving the Backup File
- Make Use of an External Storage Device.
- Use your old computer and connect either a USB stick or a portable hard disk.
- At ease, transfer the .QDF file to the external storage device and proceed.
- Optional: Employ Cloud Storage.
- For later retrieval on the new computer, save the .QDF file in a cloud service, for instance, Google Drive, Dropbox, and OneDrive.
Step 3: Quicken Installation on New Computer
- Download and install Quicken.
- You will need to purchase it from their homepage and directly download it.
- To use your software on another device, sign in to your Quicken account to activate it.
- Update the Quicken application.
- Even though it has just been installed, it is wise to see if any updates are available as you go through Help > Check for Updates.
Step 4: Retrieve The Data File
- Find The Backup File.
- If an external hard disk was used, attach it to the new computer.
- If cloud storage was used, retrieve the file from your new computer’s directory.
- Restore the Backup File.
- On the new PC, launch the Quicken program.
- You may now wake up the Couch through the commands file > Back up and Restore > Back up the couch and you hurry up to the Wand file.
- Now go to where you know you have too many .QDF files and click on one of them.
- Select Open to make your data available in Quicken.
Step 5: Confirm Your Information
- When you are done restoring the file, perform the following actions;
- Confirm whether all your accounts, transactions, and budgets are available.
Transfer Quicken Data Tips:
- Use the Same Versions of Quicken: The new computer should be running the same version of Quicken as the old one. One should upgrade only after there is a backup of the old computer of the data.
- Make a Backup: It is advised that the data file be saved on an external drive or some cloud services.
- Raise a Support Request: In case of any problems, raise a support issue as Quicken customer care can help with this.
Conclusion
The whole process of moving the Quicken data file to another computer can be executed easily once you have all the steps organized. You have completed the three steps to ensure the smooth transfer of the accounting data to any computer with minimal disruption caused. It is also necessary to periodically back up the database so that your records are not lost due to some unforeseen event.
Now that Quicken has been installed on a new computer, it is time to use and manage the transactions as they have always been.


